Use Elementor: The Basics for Editing Your WordPress Site
Change some text, replace an image, add a section or a page: the basic moves to edit your WordPress site yourself with Elementor, without breaking anything.

A site you can’t edit yourself always ends up out of date. That’s why I build my sites with Elementor: a visual editor where you edit the page exactly as it appears, without touching any code. Here are the basics you need to use Elementor and edit your WordPress site with peace of mind.
Open a page in Elementor
Log in to your WordPress dashboard (usually yoursite.com/wp-admin). There are two ways to open a page:
- from the dashboard, in the Pages menu, hover over the page you want and click Edit with Elementor;
- from the site itself, once you’re logged in, click Edit with Elementor in the black bar at the top of the screen.
The editor opens: the page you’re working on is on the right, and the editing panel is on the left.
Use Elementor: understand how a page is structured
An Elementor page is organized into three levels:
- containers (or sections): the large horizontal bands of the page;
- columns inside them, to place elements side by side;
- widgets: heading, text, image, button, video, form…
Hover over the page: each element gets a frame around it as your mouse passes over it. Click on it, and its settings appear in the left panel, split into three tabs: Content, Style and Advanced.
Edit text
The simplest way: click directly into the text on the page and start typing. For headings, also choose the level in the Content tab: a single main heading (H1) per page, then H2s for the main sections. This matters for readability as well as for Google.
A word of advice: avoid changing the font, size or color of a piece of text on a case-by-case basis. The site was designed with consistent styles; tweaking them here and there eventually produces a page that no longer looks like the rest.
Replace an image
Click on the image, then on the thumbnail in the left panel: the media library opens. Upload your new image or choose an existing one.
Before uploading it, two habits to adopt:
- reduce its size: a phone photo weighing several megabytes slows the page down. Anything wider than 2,000 pixels is rarely useful;
- fill in the alt text in the media library: a short description of the image, read aloud to visually impaired people and read by Google.
Also go for the WebP format whenever possible: at the same quality, it’s much lighter than JPEG or PNG. To learn more about page weight, read my article on how to speed up a WordPress site.
Add a button, a section, an element
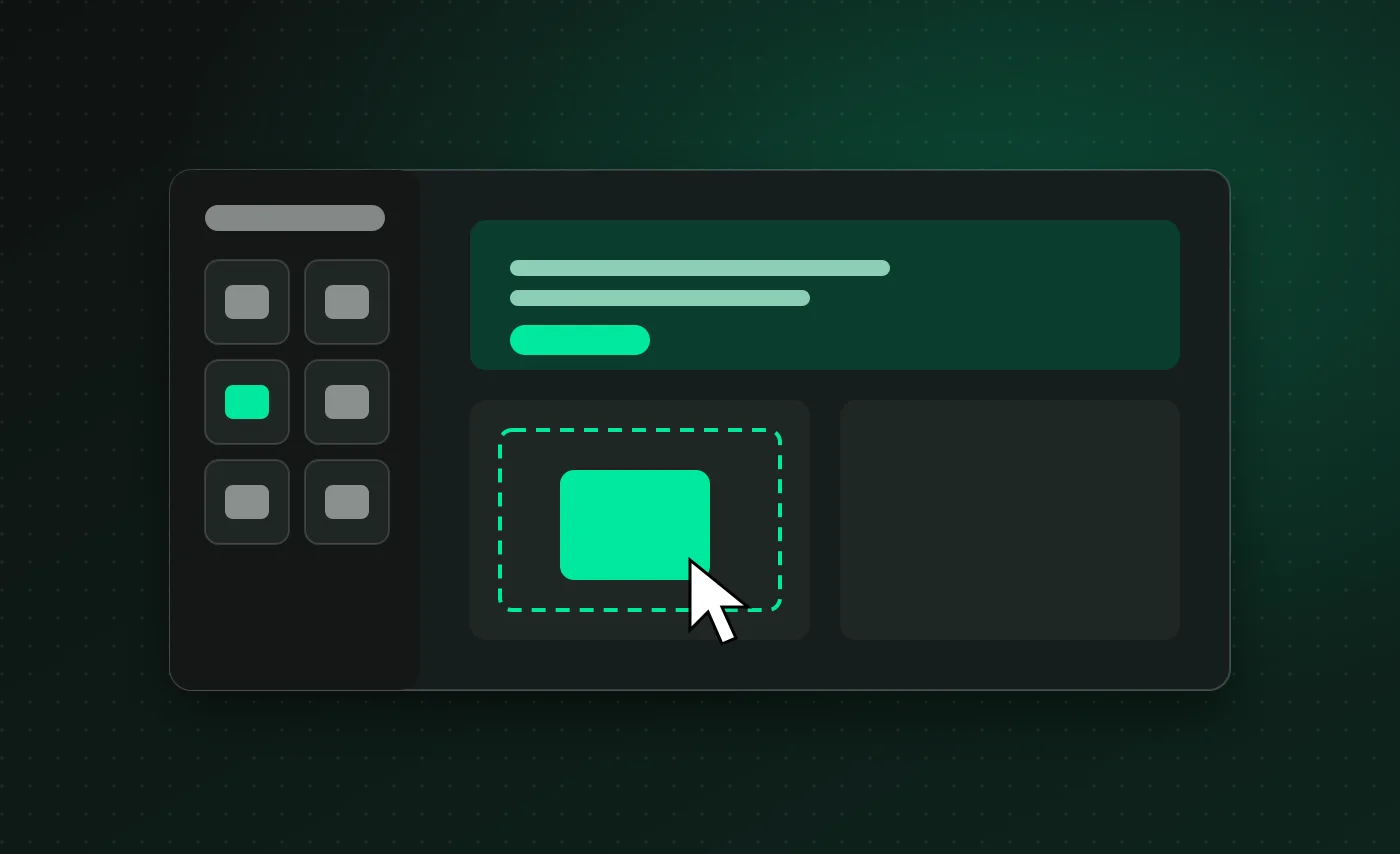
To add an element, drag a widget from the left panel to the spot you want on the page. To save time, the best method is often to duplicate an existing element: right-click on the element, then Duplicate. It keeps the same style as the rest of the site, and all you have left to do is change the content.
For a button, always check the link in the Content tab: a button that leads nowhere is a dead end for your visitors.
Create a new page
In the dashboard, go to Pages, then Add New. Give it a title, then click Edit with Elementor. Rather than starting from a blank page, insert a saved template if your site has any, or duplicate an existing page that already has the right structure.
Then don’t forget to add it to the menu, under Appearance, Menus, or to the header if it’s managed with Elementor Pro.
Check on mobile before publishing
At the bottom of the left panel, the screen icon lets you switch between desktop, tablet and mobile. Always check your page on mobile: a large share of your visitors will see it on their phone. Settings can be adjusted for each screen size, for example a slightly smaller heading on mobile.
Publish, and go back if needed
Click Publish (or Update) at the bottom of the panel: the change is live. Not ready yet? The arrow next to it lets you Save as Draft.
Made a mistake? Don’t panic. The History icon keeps track of all your actions and of previous versions of the page: one click is all it takes to go back. The Ctrl + Z shortcut also works in the editor.
Resources to go further
To use Elementor beyond the basics, the Elementor Help Center offers tutorials for every widget. Take it step by step: first edit existing content, then create a section by duplicating another one, and only try new widgets once you feel comfortable. Before a major change, write down what you’re changing: that way you can easily redo it, or undo it if you don’t like the result.
Use Elementor without taking risks
Elementor makes you independent when it comes to your content. Some areas deserve more caution:
- the site’s global settings: colors, fonts, theme kit;
- the header and footer, which appear on every page;
- plugins and their settings;
- updates to the theme and to Elementor, to be done after a backup.
The bottom line
Click to edit, duplicate rather than build from scratch, lighten your images, check on mobile, publish: that’s all it takes to use Elementor day to day, and you manage your content without depending on anyone. It’s what I show my clients when I hand over a site. If you want a site built with Elementor and designed to be easy to edit, let’s talk.
Can I break my site by editing it with Elementor?
It’s rare if you stick to the content: text, images, buttons. And thanks to Elementor’s history, every change can be undone. The theme’s global settings, on the other hand, should be handled with more care.
Is the free version of Elementor enough?
For simple pages, often yes. The Pro version adds advanced widgets, header and footer editing, forms and reusable templates, which are useful for a professional website.
Are my changes visible right away?
Yes, as soon as you click “Publish”. If they aren’t, it’s usually the site’s or the browser’s cache: clear it, or open the page in a private browsing window.